作者:Simon Li
这个简单的Demo是介绍如何用ChipScopy创建并运行link sweep。
搭建环境
1. Python 3.8 安装和虚拟环境的创建,以及example的获取可以参考: Github-link.
2. 激活虚拟环境打开jupyter notebook:

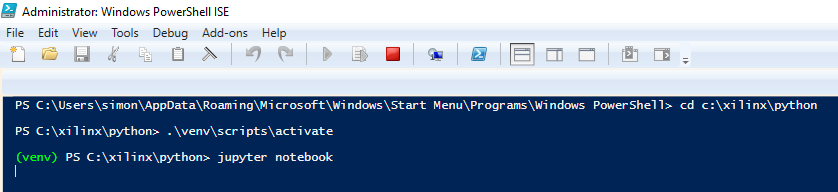
3. 打开Power shell通过运行以下命令打开jupyter notebook:
a. Change the directory to the installed python dir:
cd c:\xilinx\python
b. Activate virtual environment, enter the following:
venv\scripts\activate
c: start jupyter
jupyter notebook
4. 以下link将会用默认浏览器打开

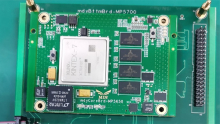
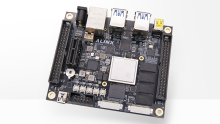
5. 连接Type C到VCK190,连接bank105的Ch2/3到zSFP,开启电源。

在ChipsCopy的例子里查看需要修改的代码
更多信息参考附件.py.
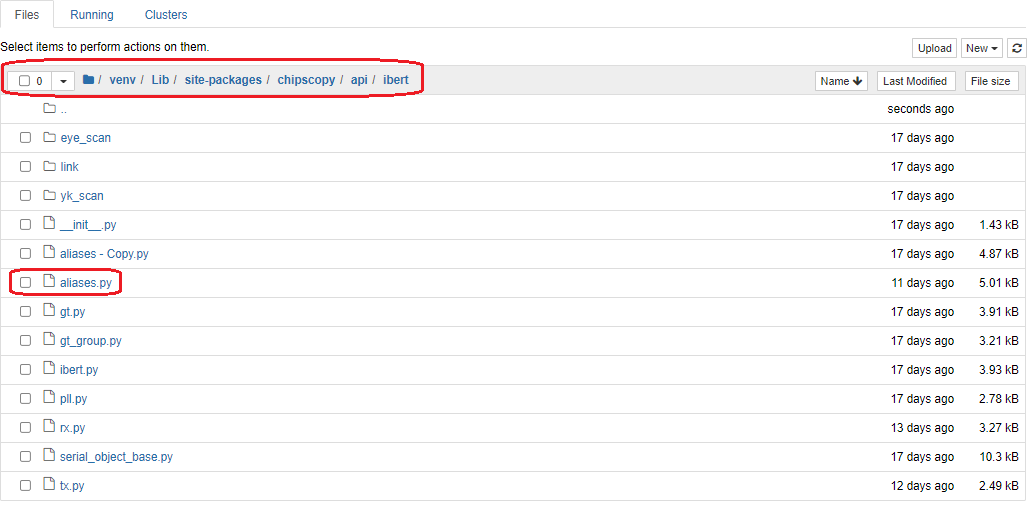
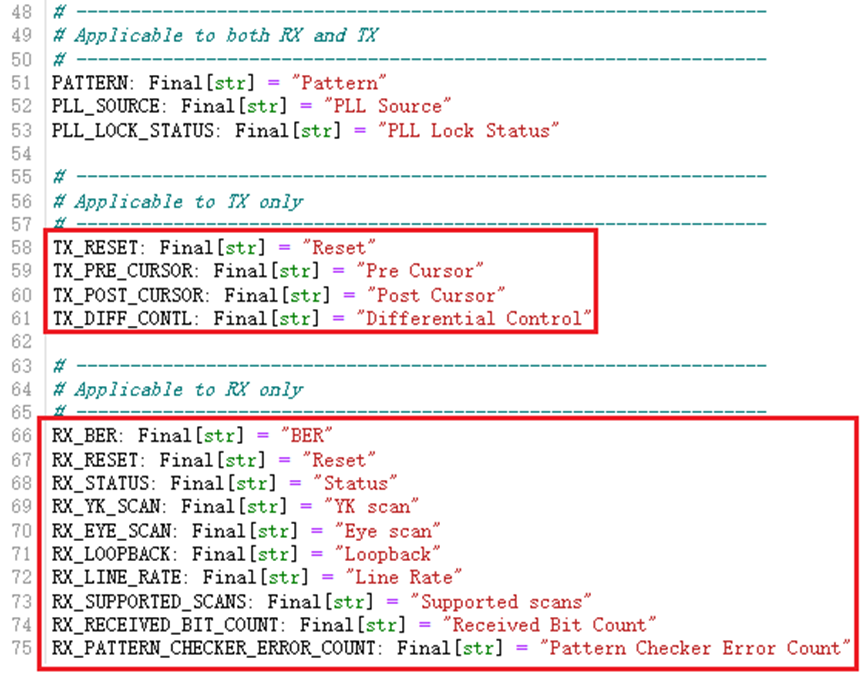
1. 双击the /chipscopy-examples/ibert/versal_gty/vck190_link_and_eye_scan.ipynb,确认 从aliases.py导入需要ports。
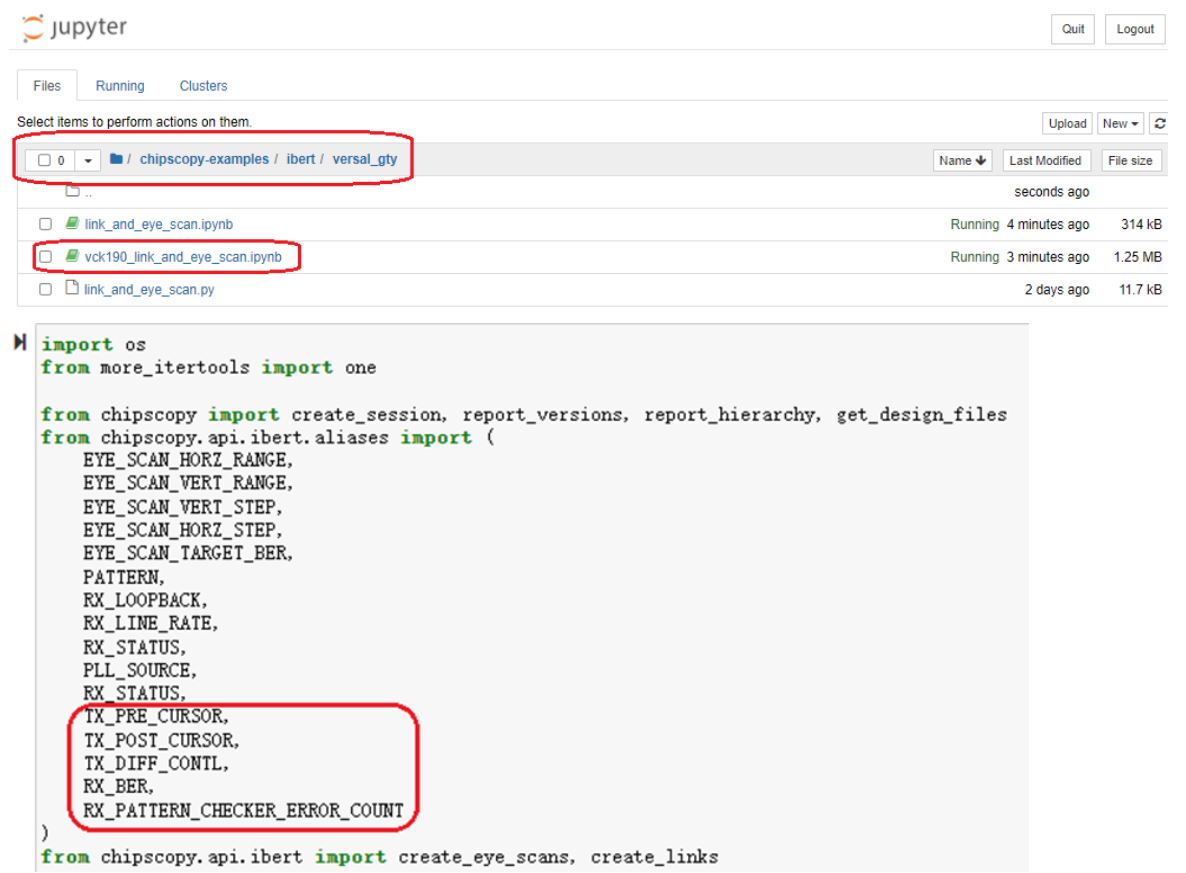
2. 如果aliases.py没有定义,也需要在aliases.py里加上。
3. 最主要的Link sweep module, 请参考demo的step 7.
Demo step by step:
Step 1. 初始化,单击run运行step 1
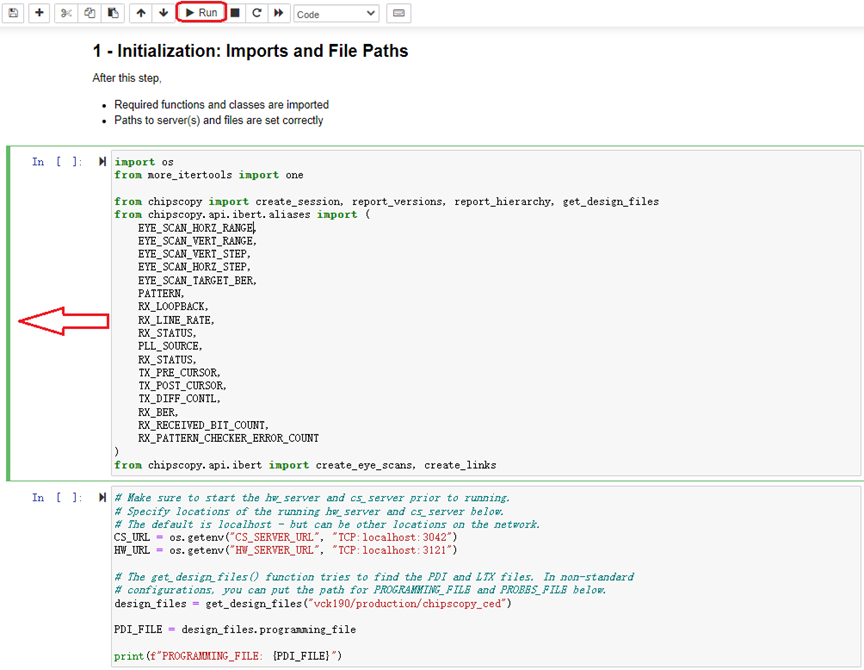
Expected Output
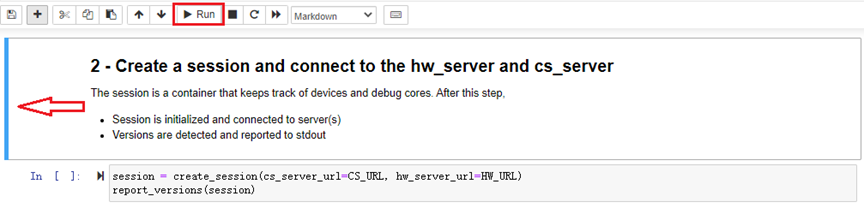
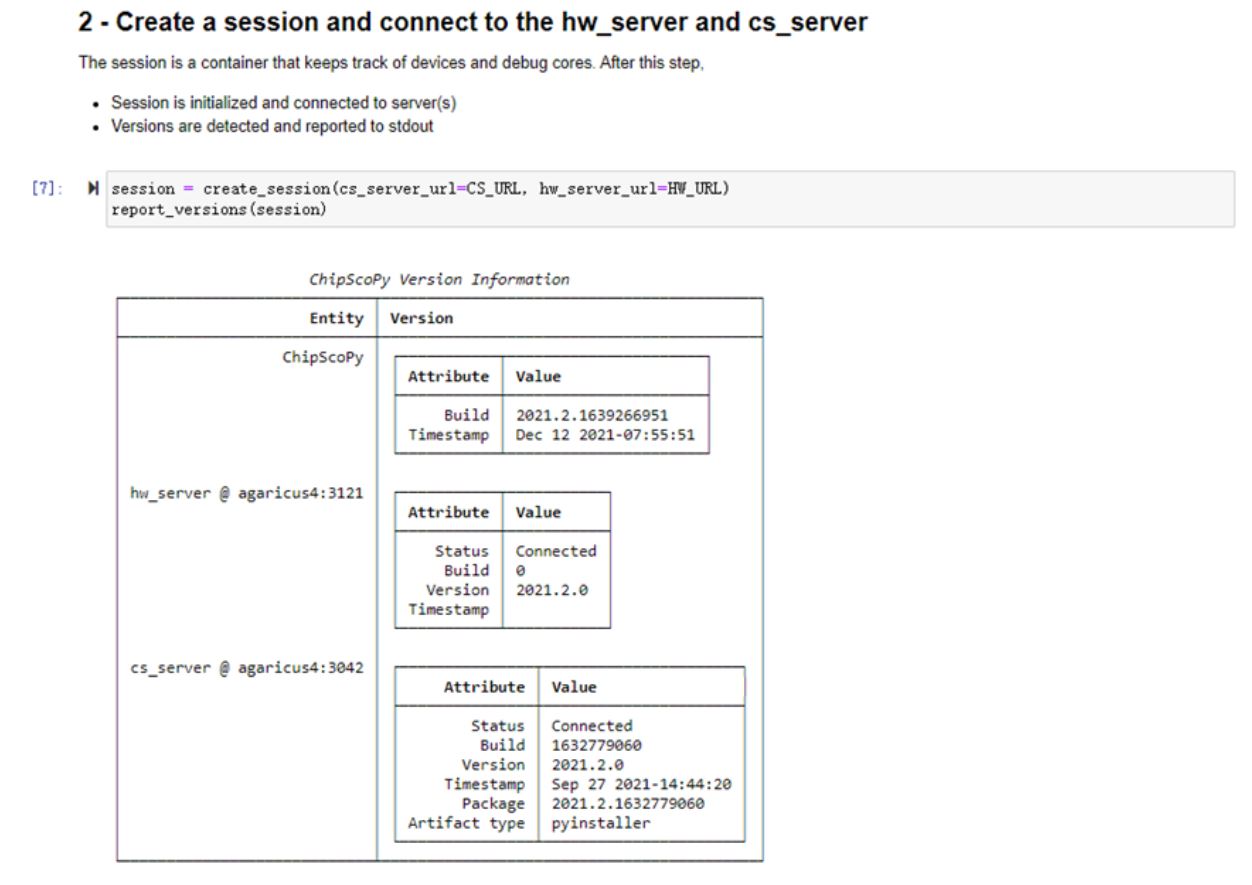
Step 2. 创建一个local或者remote session:
Note: 如果选择localhost, 可能看到以下错误. 可以在HW manager里尝试连一下JTAG,然后再关掉hw_server.

Expected output
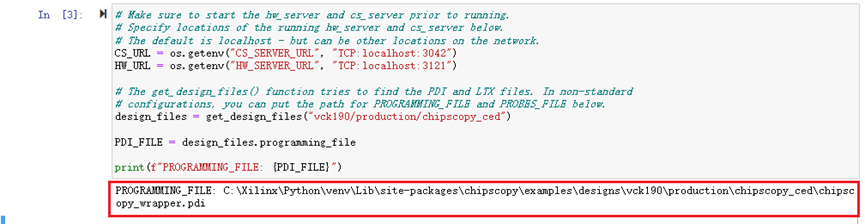
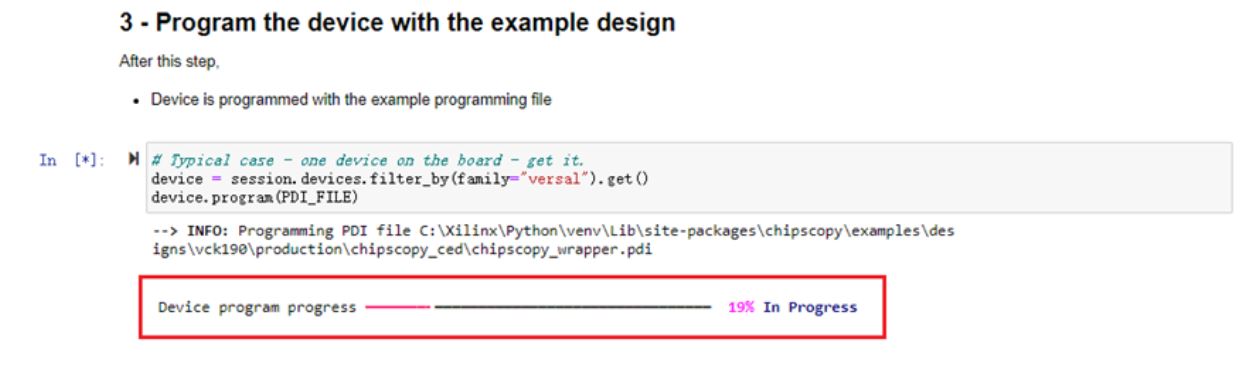
Step 3. 确保目录正确,并下载example design的PDI.
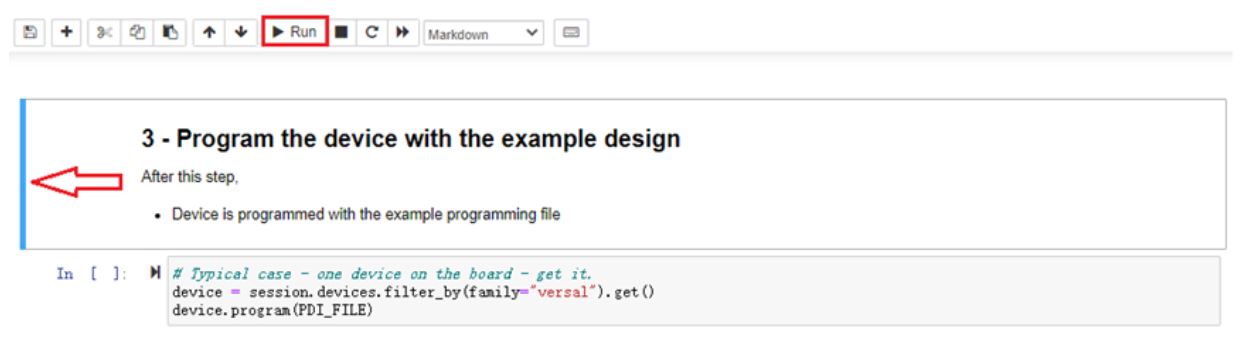
Expected output
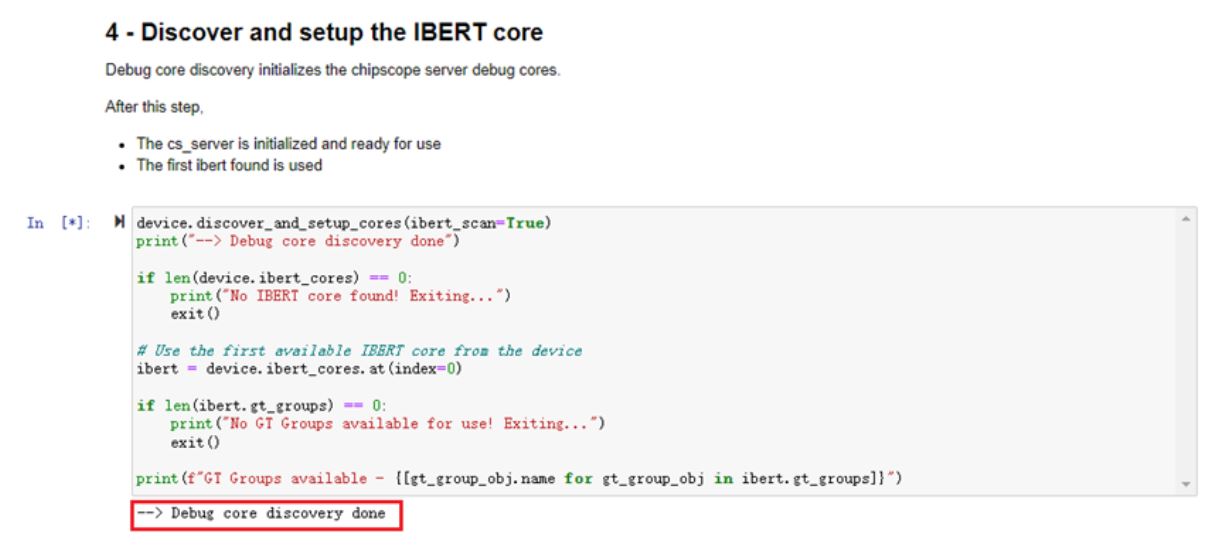
Step 4. 找到并建立IBERT core。

Expected output
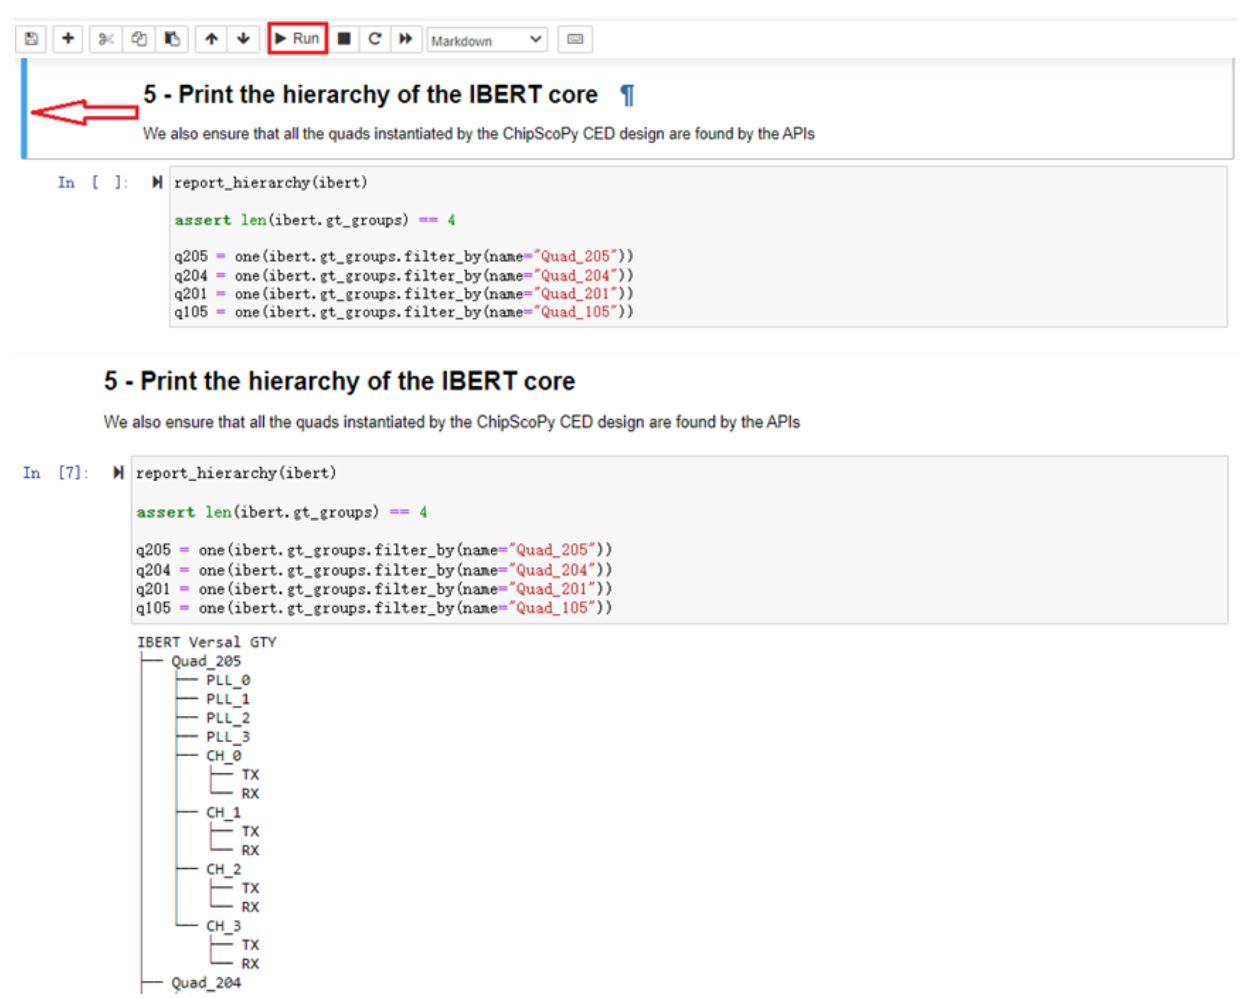
Step 5. 打印IBERT core的结构
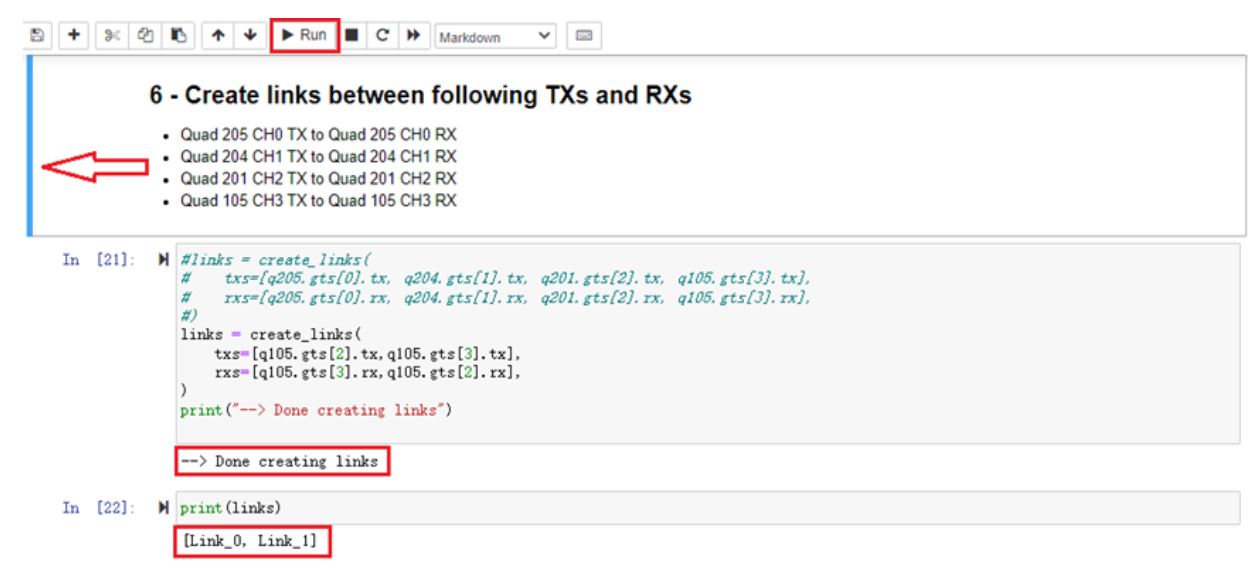
Step 6. 创建bank 105的CH2/CH3(外部光纤环回)
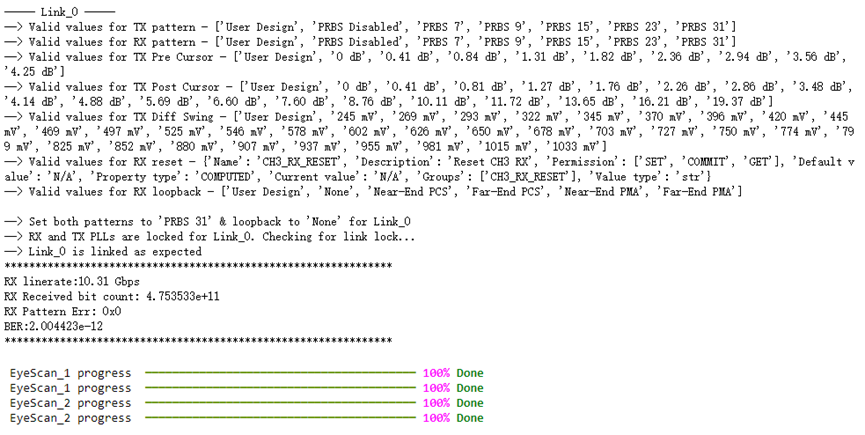
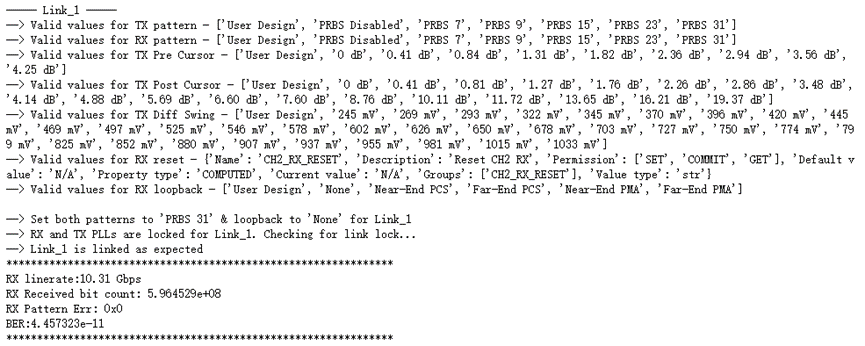
Step 7. 设置PRBS31,Loopback=None, 配置sweep parameters. 将scan plots按顺序画出并显示. 其中在scan plot的上方有一个Summary,可以看到相关参数设置以及扫描结果.
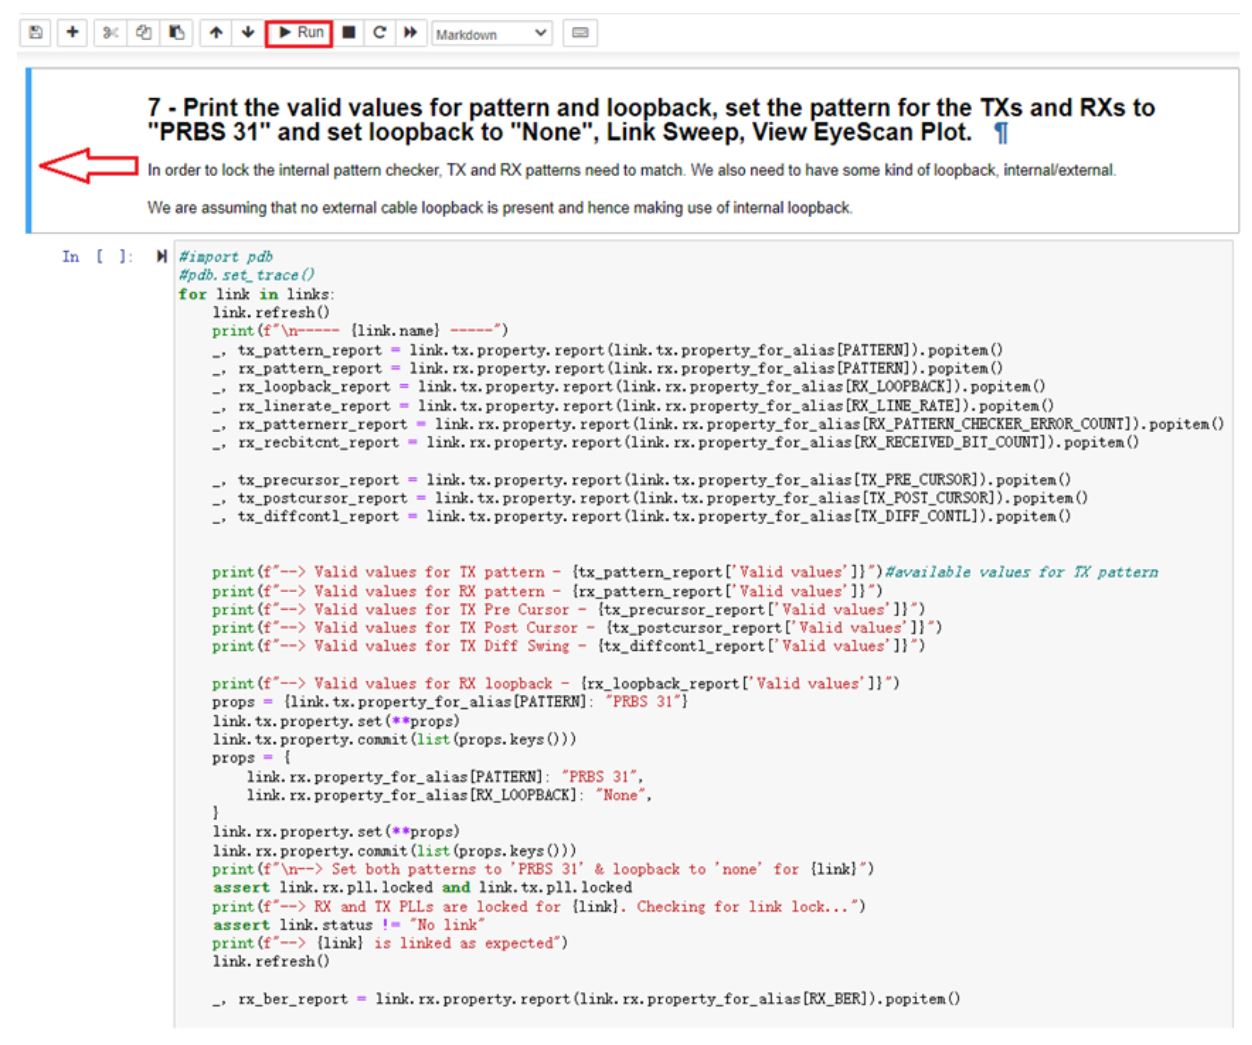
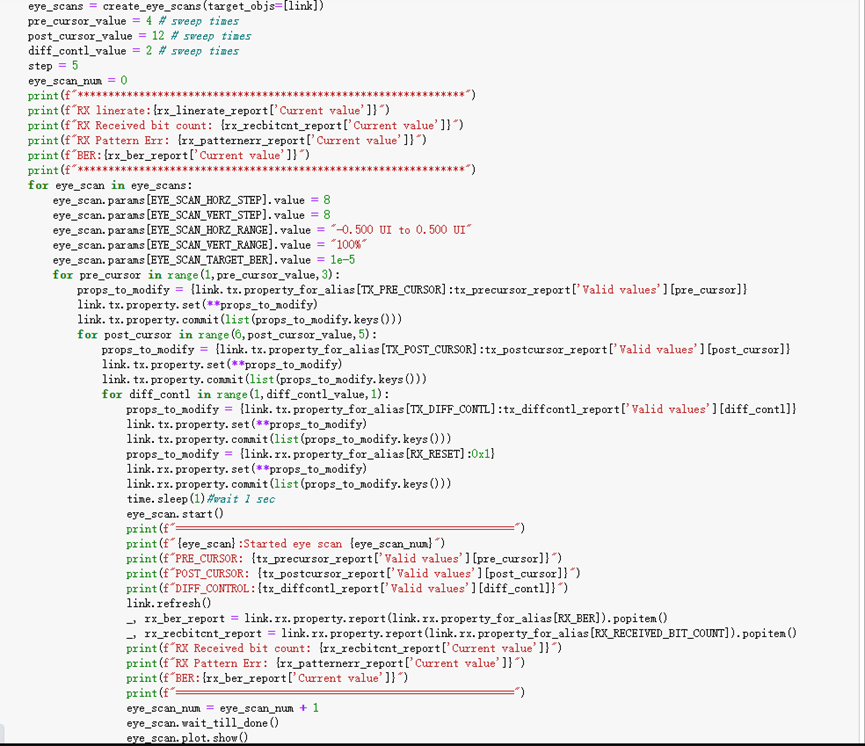
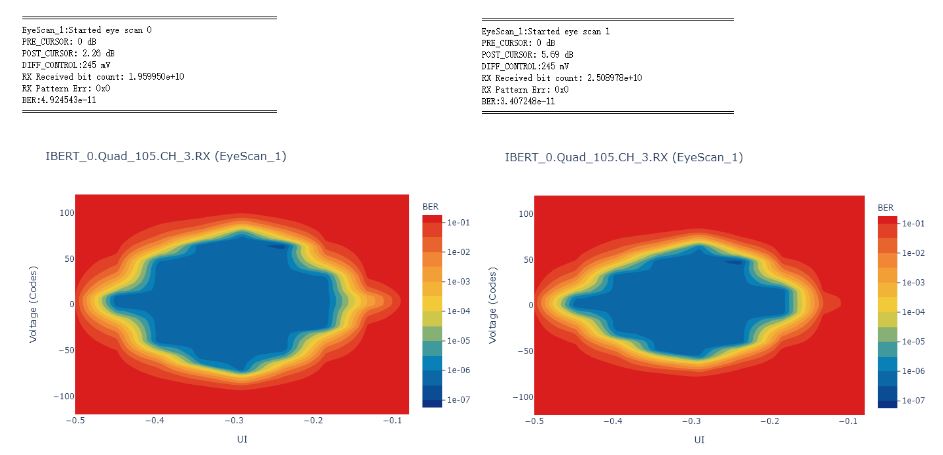

Known issue: 横坐标的UI还不是 -0.5UI~0.5UI, BER 始终是1e-07,和设置还不一致。