作者:bt_
原文链接: https://blog.csdn.net/botao_li/article/details/104039068
* 本文由作者授权转发,如需转载请联系作者本人
具体方法与 SDK 的多核工作实现方法基本一致,详细操作可以参考 zcu102 系列文档。
本文的代码工程继承 vitis_zcu102_1 文档
添加 Domain
打开 Platform Project,双击 platform.spr 文件,打开当前工程
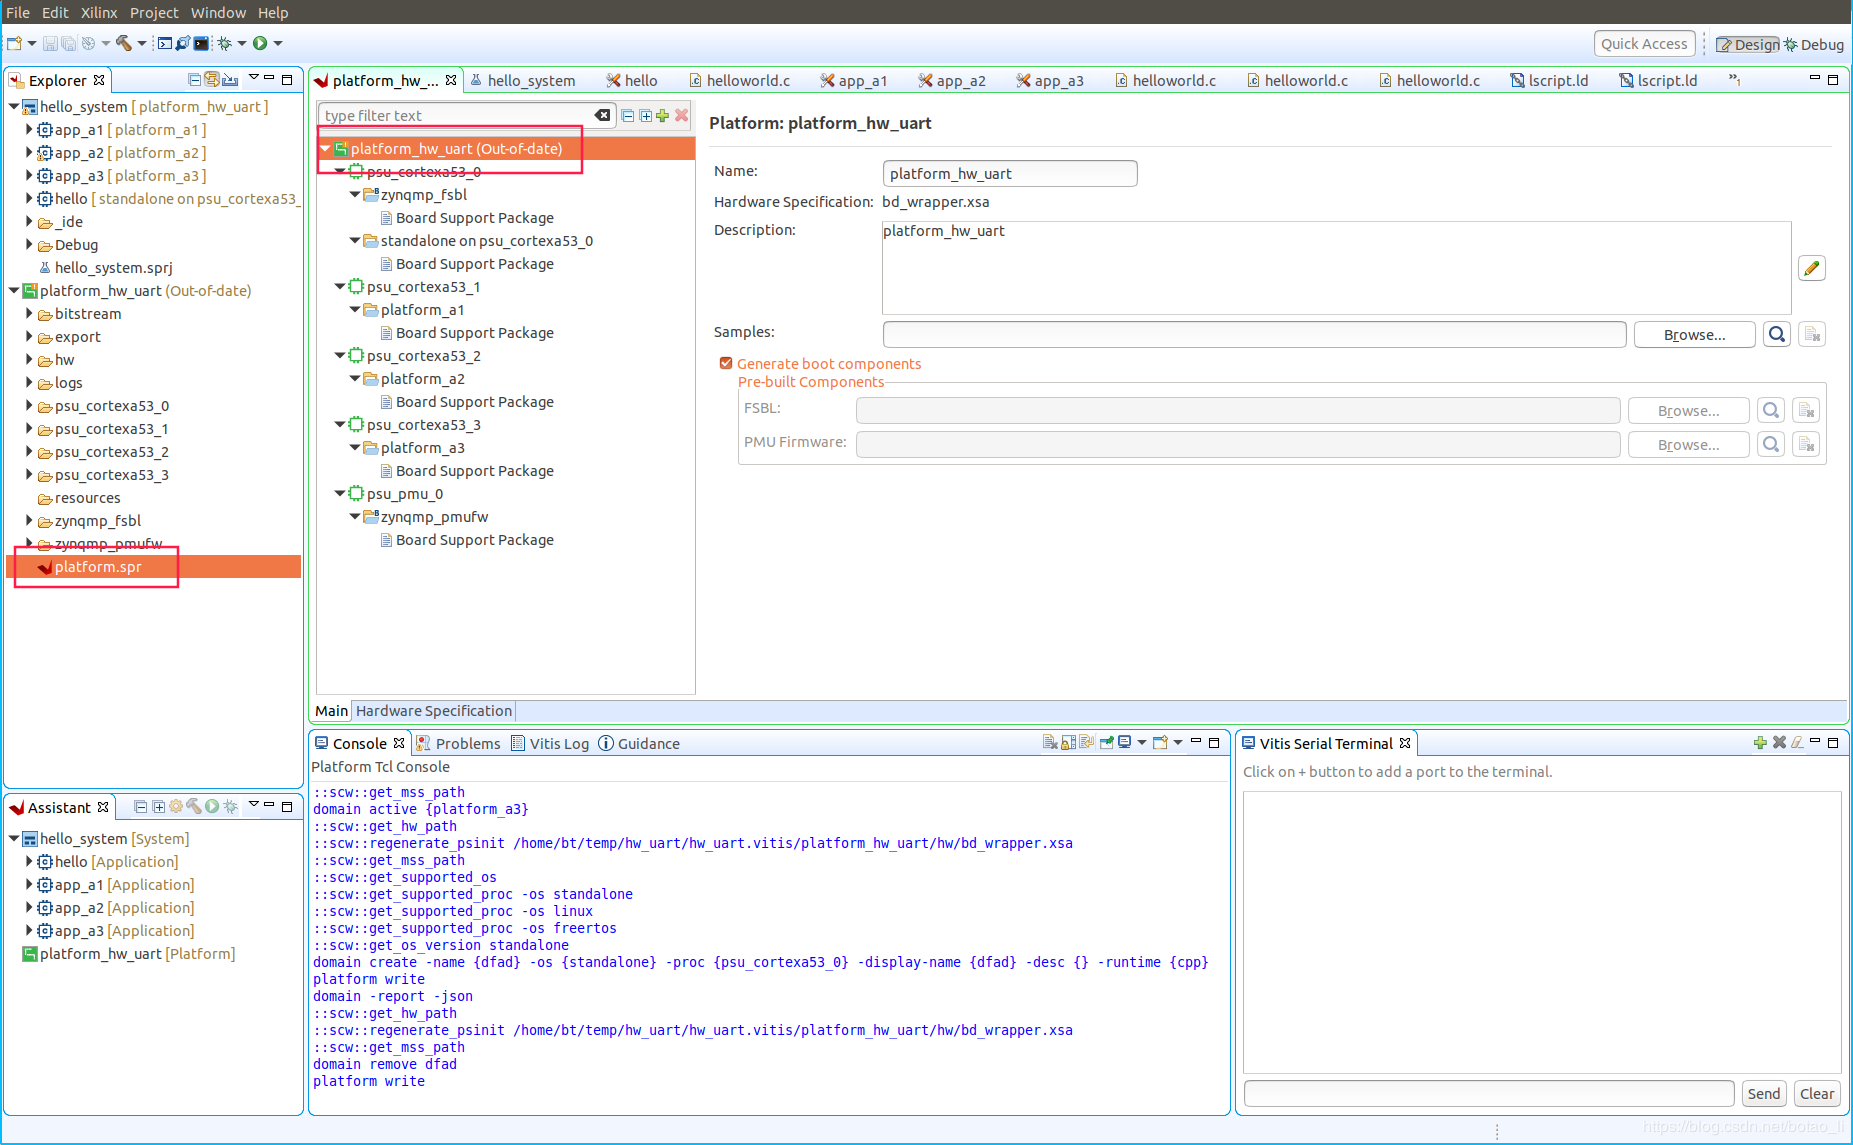
在打开的工程界面内选择当前 Platform Project,在右键菜单中选择 Add Domain
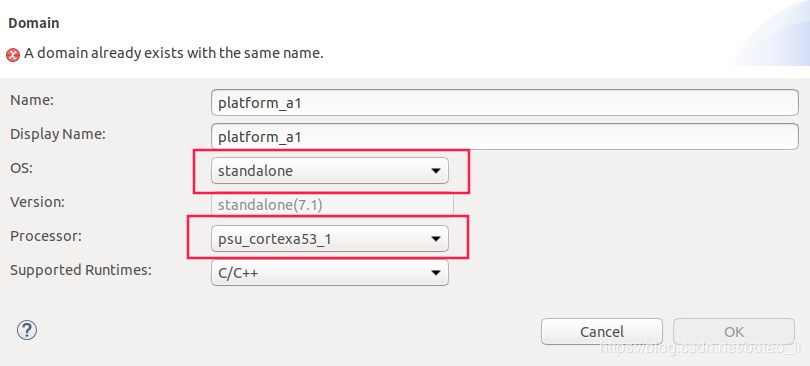
如下图所示,分别添加 psu_cortexa53_1、psu_cortexa53_2、psu_cortexa53_3 的 Domain。
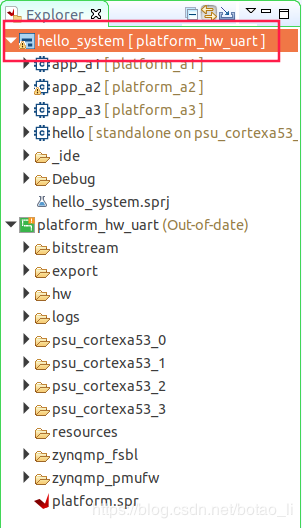
添加完全部 Domain 之后,在 Explorer 的工程中右键选择 Build Project。
添加 Application Project
在菜单栏选择 File > New > Application Project
在弹出窗口中选择 System Project 为同一个 hello_system

按照 vitis_zcu102_1 文档的说明选择 Platform Project 和 psu_cortexa53_1、psu_cortexa53_2、psu_cortexa53_3,分别建立 3 个 Application,都使用 Hello World 模板。

配置 Application 的指令空间
由于 4 个 A53 核使用访问同 1 个 DDR,因此必须将 4 个 Application 的指令空间分开,不能重叠。
双击打开 4 个 Application 的 lscript.ld 文件
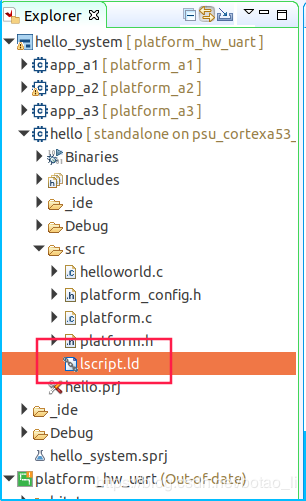
在 Available Memory Regions 中修改 psu_ddr_0_MEM_0
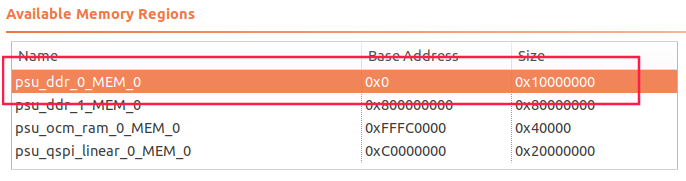
4 个 Application 的修改数值如下表所示:
分配结果如下表:
| 单核工程 | Base Address | Size |
|---|---|---|
| a0 | 0x0 | 0x10000000 |
| a1 | 0x10000000 | 0x10000000 |
| a2 | 0x20000000 | 0x10000000 |
| a3 | 0x30000000 | 0x10000000 |
编写测试代码:
a0 代码
#include
#include "platform.h"
#include "xil_printf.h"
#include "sleep.h"
int main()
{
init_platform();
while (1)
{
print("Hello a0\n\r");
sleep(4);
}
cleanup_platform();
return 0;
}
a1 代码
#include
#include "platform.h"
#include "xil_printf.h"
#include "sleep.h"
int main()
{
init_platform();
sleep(1);
while (1)
{
print("Hello a1\n\r");
sleep(4);
}
cleanup_platform();
return 0;
}
a2 代码
#include
#include "platform.h"
#include "xil_printf.h"
#include "sleep.h"
int main()
{
init_platform();
sleep(2);
while (1)
{
print("Hello a2\n\r");
sleep(4);
}
cleanup_platform();
return 0;
}
a3 代码
#include
#include "platform.h"
#include "xil_printf.h"
#include "sleep.h"
int main()
{
init_platform();
sleep(3);
while (1)
{
print("Hello a3\n\r");
sleep(4);
}
cleanup_platform();
return 0;
}
测试运行
在 System Project: hello_system 上右键选择 Build Project
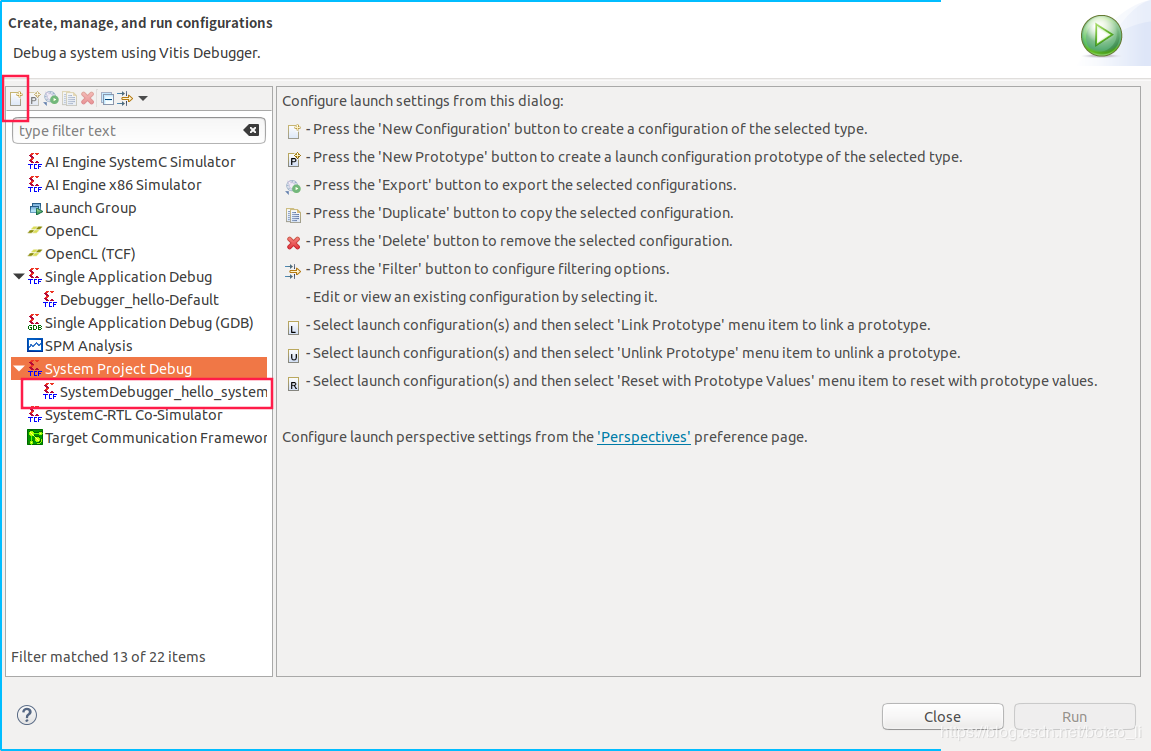
完成后右键选择 Run As > Run Configurations
在弹出窗口的左上角点击 New Configurations 按钮,添加新的运行配置
在添加的运行配置的 Target Setup 页,可以看到默认配置

zcu102 板卡上电后,点击上图中右下解的 Run 按钮
程序启动后在 Vitis Serial Terminal 中可以收到分别来源于 4 个 a53 核的字符串:

SD 卡加载镜像
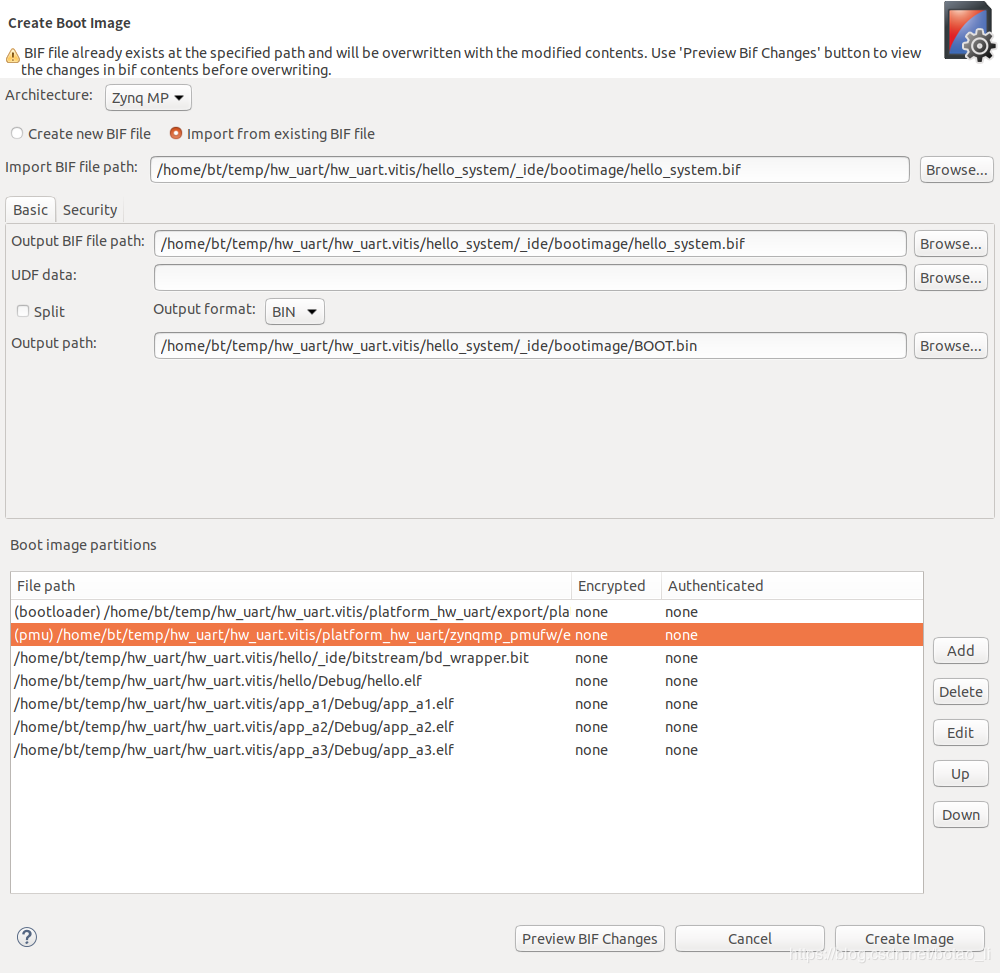
在 Vitis 菜单选择 Xilinx > Create Boot Image
使用与 SDK 相同的办法生成镜像文件(由于 Platform Project 已默认添加了 FSBL 和 PMU 工程,此处不用再单独添加)
生成的镜像文件 BOOT.bin 考入 SD 卡。将 zcu102 开发板设置为 SD 卡加载后,上电运行与之前的 JTag 加载运行效果一样。