由于Vivado下载程序步骤和ISE有较大差异,特此写此文章,希望对大家有所帮助。
1,下载文件生成
在.bit文件生成后,在TCL中输入
write_cfgmem -format mcs -interface spix4 -size 16 -loadbit "up 0x0 F:/Git/XGA/Display_HDMI/Display.runs/impl_2/Display.bit" -file FPGA_TOP.mcs
spix4为模式设置。
-size 16为Flash大小,单位Byte。
即可得到FPGA_TOP.mcs和FPGA_TOP.prm两个文件,后边需要用到这两个文件。
A&Q:提示bit位宽错误
ERROR: [Writecfgmem 68-20] SPI_BUSWIDTH property is set to "1" on bitfile F:/Git/XGA/Display_HDMI/Display.runs/impl_2/Display.bit. This property has to be set to "4" to generate a configuration memory file for the SPIX4 interface. Please ensure that a valid value has been set for the property BITSTREAM.Config.SPI_buswidth and rerun this command.
set_property BITSTREAM.CONFIG.SPI_BUSWIDTH 4 [current_design]
输入如上命令,将BIT位宽更改为4bit。
2,程序下载
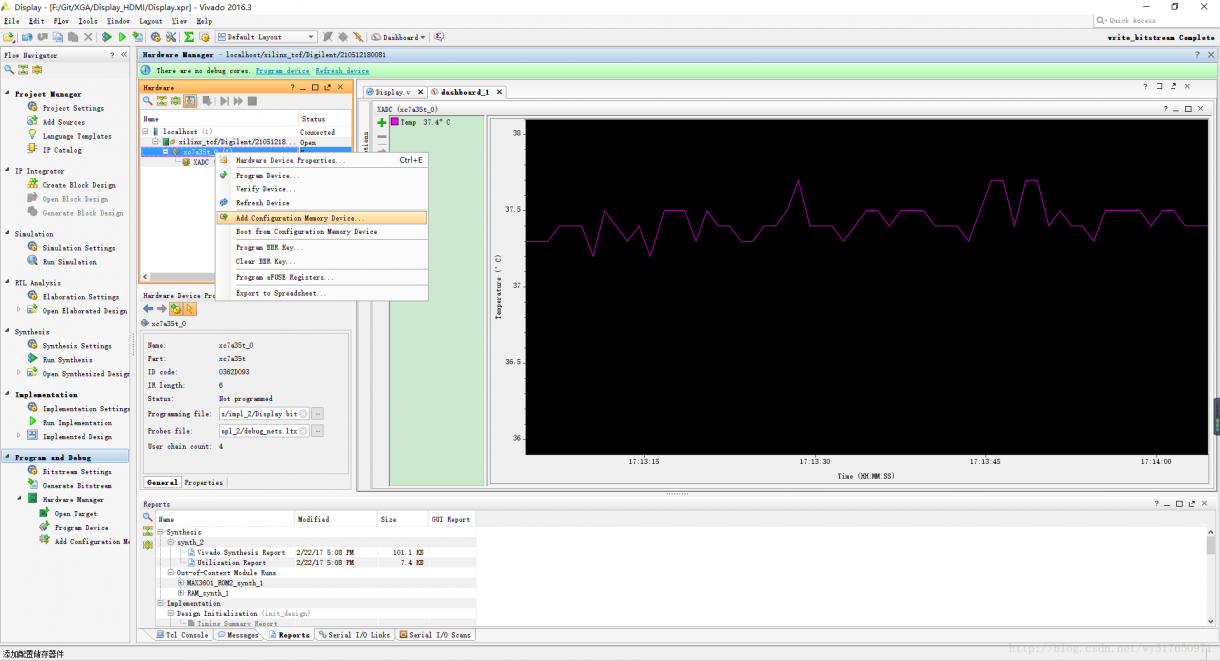
在Program and Debug模式下,右键芯片型号,如图所示。

选择你所使用的的Flash,如果此选项中没有,则可去官网查询该系列FPGA时候支持此款Flash。

点击OK即可。
A&Q:下载进去,重新上电后,程序不运行。
1,检查SPI_clk是否有时钟产生。
A,有,则证明FPGA上电配置正确。
B,无
a,检查MODE配置模式,一般我们配置为SPI主模式,即MODE[2:0]=001;
b,检查MODE上下拉电阻,官方手册上推荐使用100欧,Nexys4则使用1K。这个电阻不宜过大,否则造成上电启动失败。
---------------------
作者:家穷人瘦
原文链接: https://blog.csdn.net/wy517650971/article/details/56494304